Exterior Repaint: White Brick and Black Trim on a Central Phoenix Home
June 20, 2026 · 6 min read
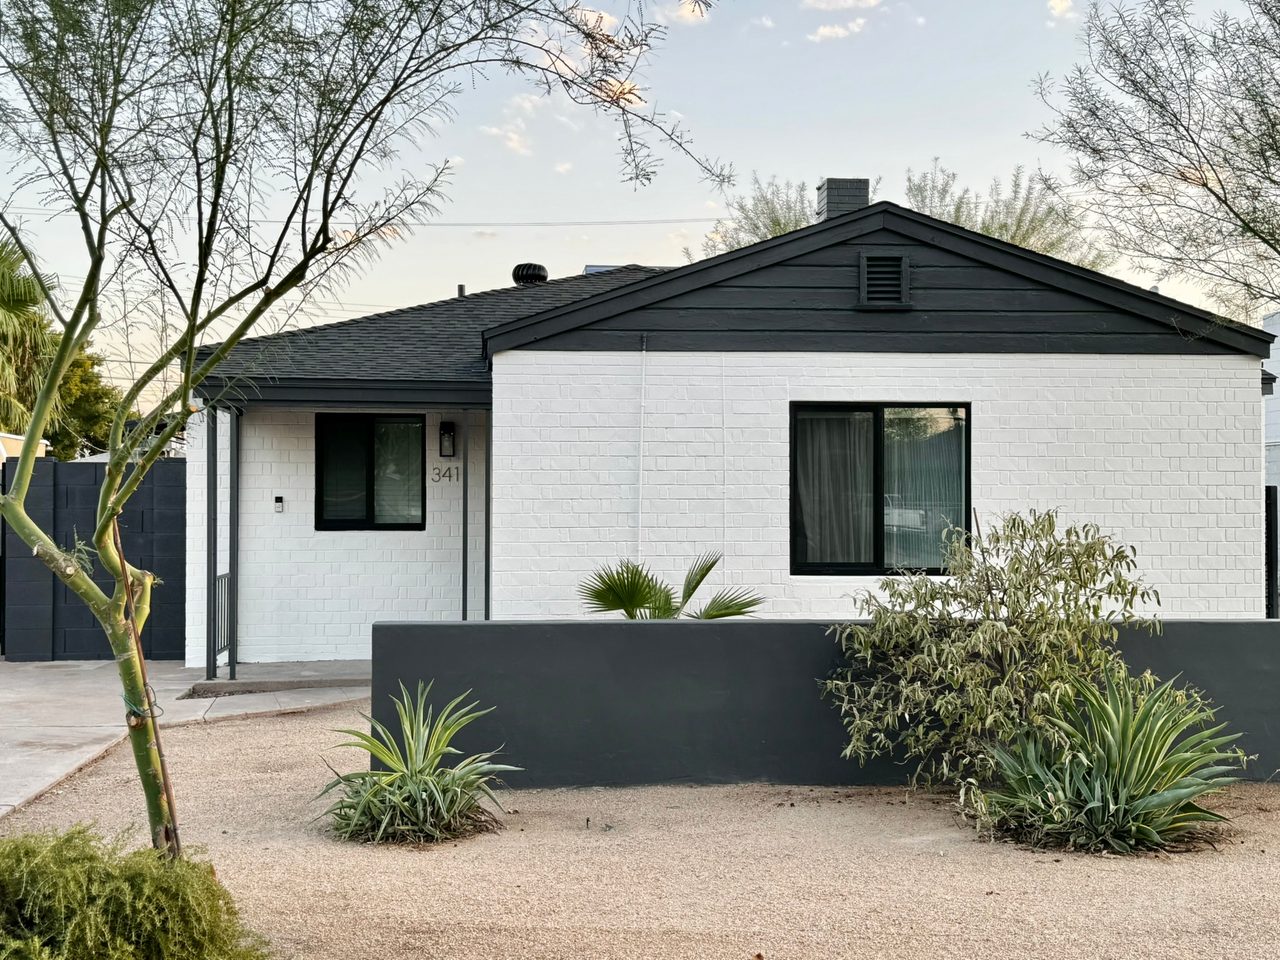
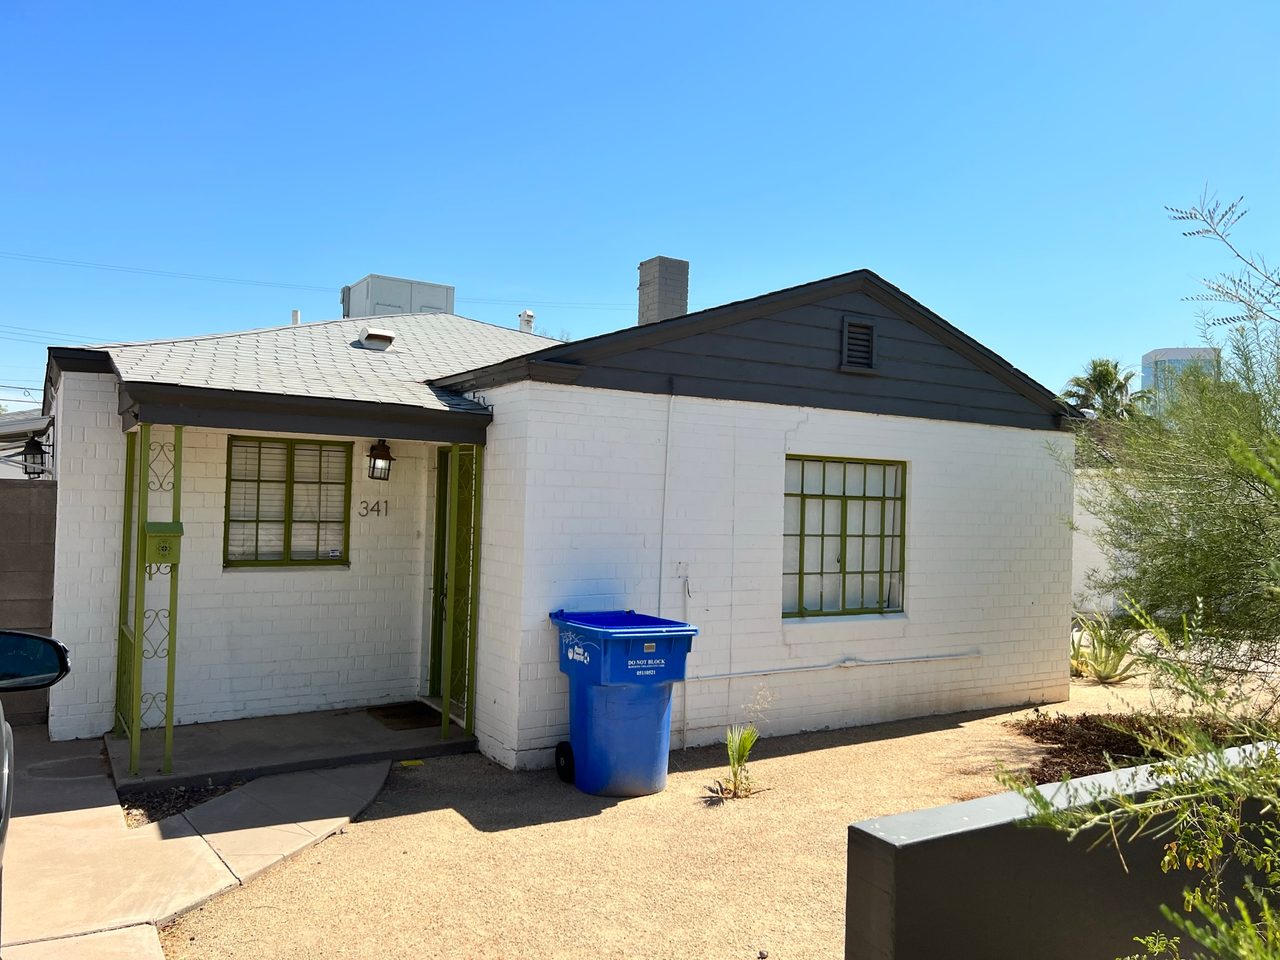
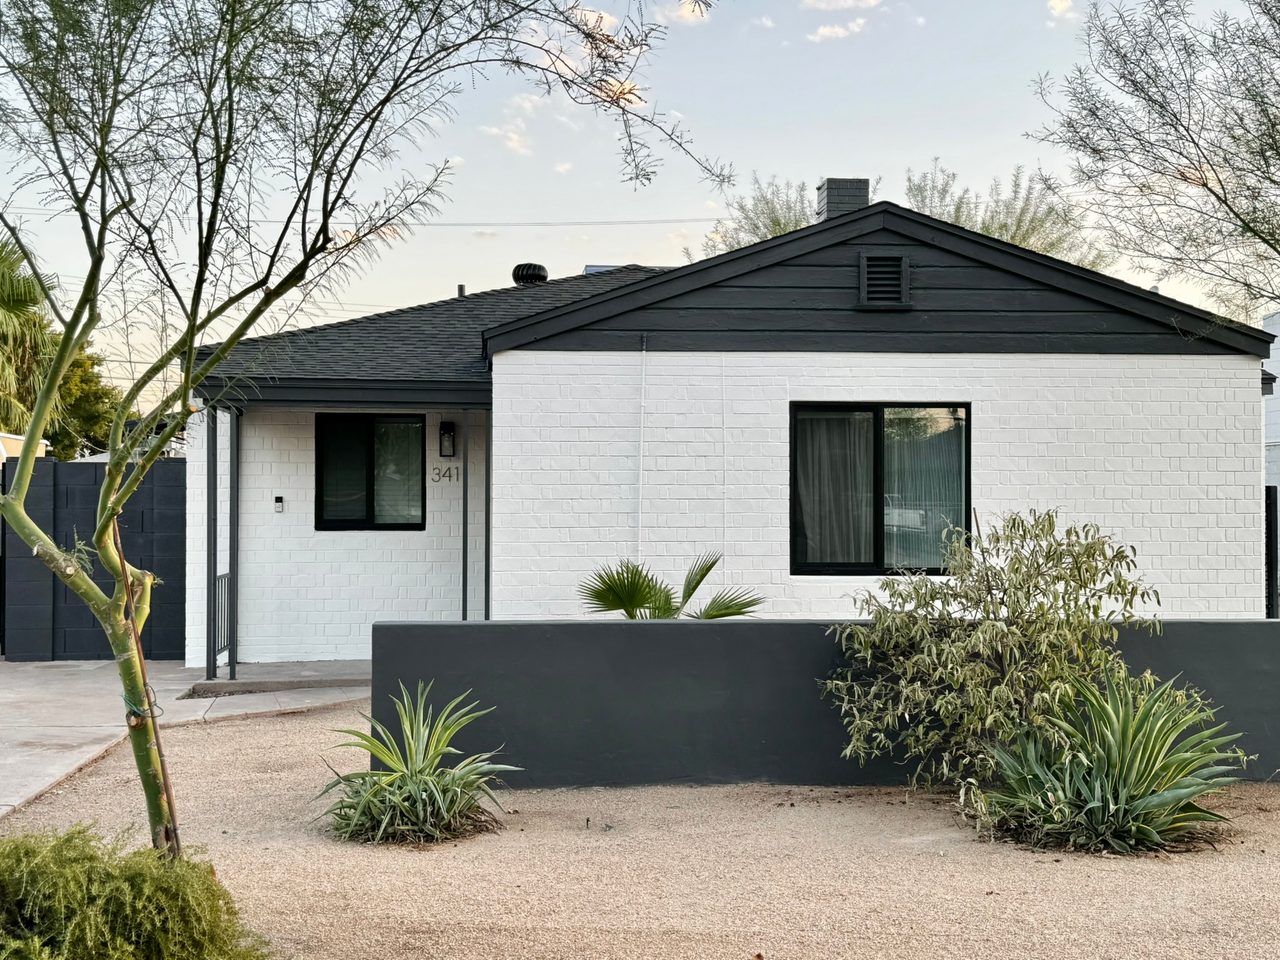
This was the exterior repaint on a mid-century home in central Phoenix that had been fully gutted and rehabbed into a modern look, and it's a good example of why the prep matters more than the paint. The house started out tired and dated, with weathered painted brick, lime-green doors, green-painted steel window grilles, and a crack running through one of the gable end walls. It finished crisp and current: a bright white body with black trim, fascia, doors, and metal awnings.
The home and the plan
The body of the house is painted masonry, all brick and block, not the stucco you see on a lot of Valley homes. That distinction matters, because it changes what you wash, what you fill with, and what you prime. The old finish was chalky and failing in spots, there were open gaps in the brick, the wood trim and fascia had some damage, and that gable crack needed real attention. We mapped the whole thing as one job: wash, repair, prime, paint.
Step one: power wash the brick and block
Every good exterior starts here. We pressure washed the whole house to strip off the chalky residue the sun leaves behind, plus dirt and any loose, failing paint. Fresh paint will not bond to a chalky, dusty wall, so this is adhesion prep, not just cleaning. Then we let the masonry dry fully. Brick and block are porous and hold water, and painting over a damp wall is how you get blisters and peeling down the road, so the wall has to come back to dry before anything else happens.
Step two: fill the gaps in the brick and repair the gable
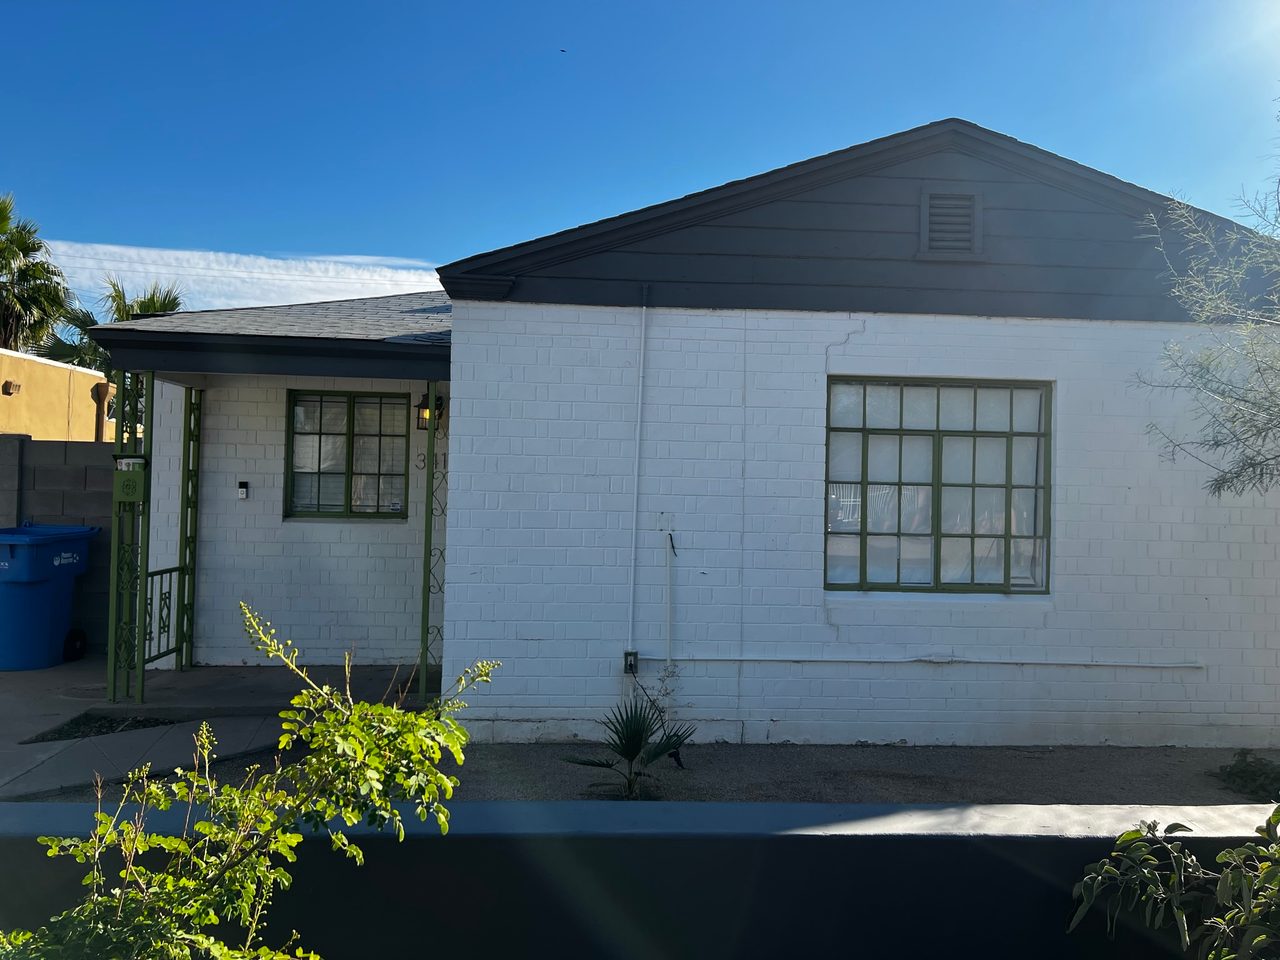
This is where a repaint earns its keep. The open gaps in the brick got filled with a masonry-grade patching compound, not interior spackle, which would never hold up outside. The cracked gable wall was the one that needed the most care. This was a cosmetic crack, not a structural one, so we opened it up, sealed it properly, and re-textured it to match the surrounding surface so it disappears under the new coat instead of telegraphing back through it. Done right, you can't find any of it in the finished photos.
Step three: the wood needed filling too
The wood trim and fascia had taken some damage, so before any paint, we filled the sound-but-gouged spots with exterior wood filler, then sanded it smooth and spot-primed it. Filler is for solid wood that's chipped or dinged; it's not a fix for rot, so anything that was actually rotted gets handled differently. Skip this step and you get new paint over bad wood, which fails fast.
Step four: prime where it counts
We didn't blanket the whole house in primer for the sake of it. We spot-primed every repair, every bare and filled spot, and any stains so they wouldn't ghost through the bright white, and we prepped the steel window grilles and metal awnings before they went black. Priming the bare and repaired areas is what keeps a bright-white finish even and stops old stains from working their way back through.
Step five: bright white body, black trim
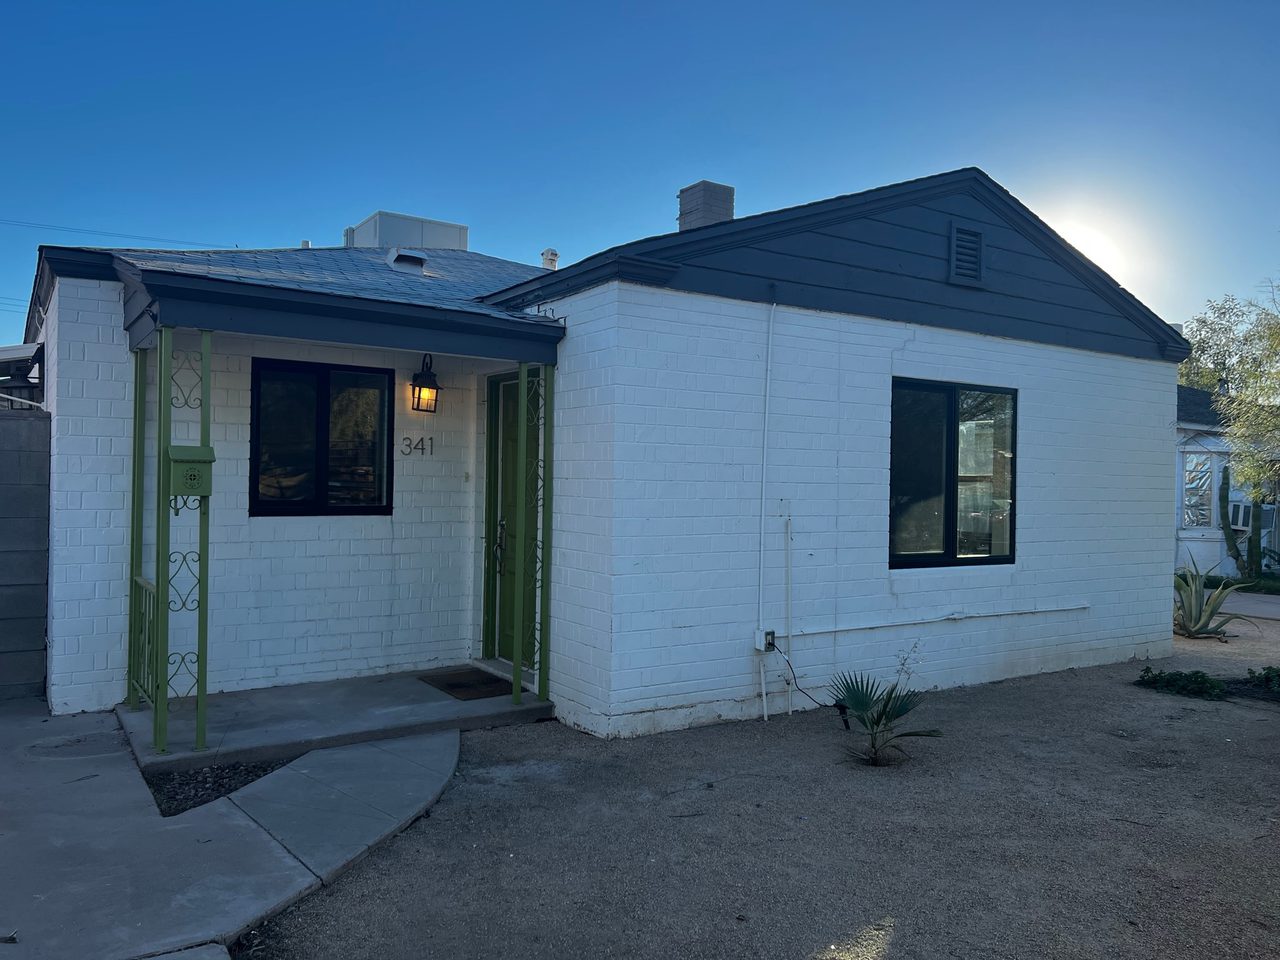
With the house prepped and primed, the body went bright white in a quality exterior coating built for Arizona masonry, back-rolled to work the paint into the texture of the brick and block so it really bonds. Then came the black: trim, fascia, gable siding, window frames, porch posts and railing, the doors, and the metal awnings, all in a crisp black with clean cut lines against the white. Those sharp lines where white meets black are what make the whole house read as intentional instead of just freshly painted.
Doing it right in the Phoenix heat
Timing matters on a Valley exterior. A masonry wall in direct Phoenix sun can run well over 100°F, often 40 degrees hotter than the air, and a dark color like our black trim runs hotter still. Most exterior coatings have a maximum surface temperature, and paint applied to a wall that's too hot skins over before it can bond, which is how coatings fail early. So we chase the shade around the house and check the surface temperature, not just the thermometer. Brick and block also hold heat late into the evening, which is one more reason to work the elevations by shade instead of by the clock.
The result
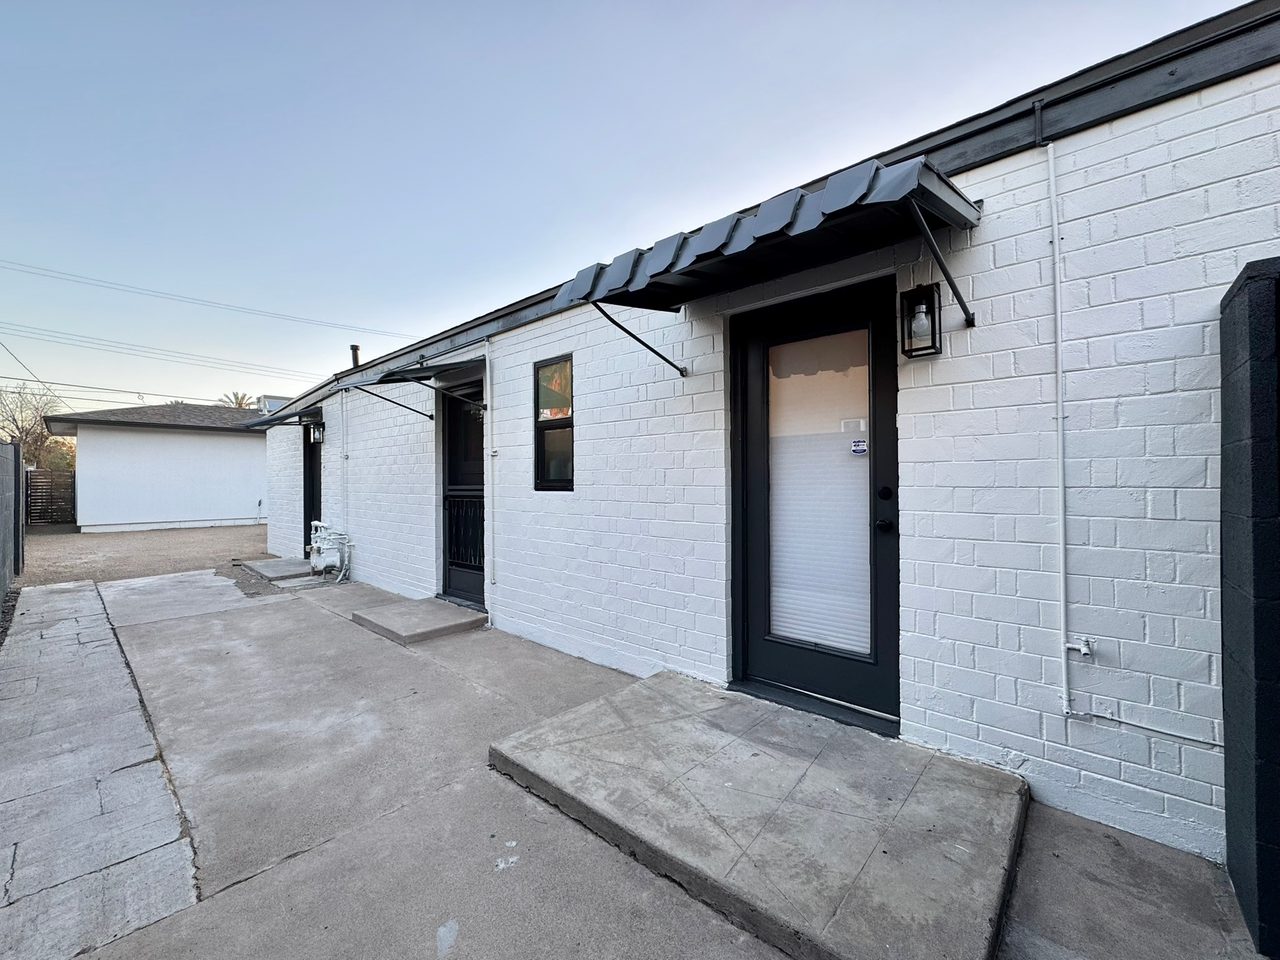
The house went from dated and weathered to a clean, modern white-and-black that looks right at home in central Phoenix. The cracked gable is invisible, the wood is solid and smooth, and the black trim frames it all with crisp lines. You can see the before, in-progress, and finished photos in our gallery.
This job pulled together our exterior house painting and the masonry and surface repair that makes an exterior repaint actually last. For more on the products and timing behind it, see our guides on choosing the right coating and why exterior paint chalks and peels in the Arizona sun.
Frequently asked questions
- Can you paint over old painted brick or block?
- Yes, and it comes out great when the prep is right. The key is pressure washing off the chalk and any failing paint, letting the masonry dry fully, repairing and spot-priming bare and patched areas, filling any open gaps in the brick, and using a quality exterior coating built for Arizona masonry, back-rolled into the texture. Painted brick and block hold a fresh coat well when they’re prepped properly.
- How do you repair a crack in a masonry wall before painting?
- A crack gets cleaned out, sealed with a flexible patch or sealant, and re-textured to match the surrounding surface so it blends in under the new paint. On this home the gable crack was cosmetic, so sealing and re-texturing it makes it disappear under the new coat. If a crack points to a structural issue, that’s a separate fix, and we’ll tell you honestly what we’re seeing.
- Why does the wood trim and fascia need filling before painting?
- Exterior wood on trim, fascia, and eaves takes sun and weather and ends up chipped or gouged. We fill the sound spots with exterior wood filler, sand them smooth, and spot-prime them so the paint goes on over a solid, even surface. Filler is for solid-but-damaged wood, not rot, so genuinely rotted wood gets replaced rather than filled.
- How long does an exterior repaint like this take in Phoenix?
- It’s a multi-day project, not a one-day job, because most of the work is wash, dry time, and repairs before any finish coat goes on. The exact timeline depends on the size of the home, how much brick and wood repair it needs, and the weather. We give you a realistic schedule up front.
- Is summer a bad time to paint an exterior in Phoenix?
- It changes the approach, not the quality. We chase the shade around the house and work the cooler hours so paint is never going onto a wall baking in direct sun, and we watch the monsoon forecast so a fresh coat isn’t hit by rain or dust before it sets. With that discipline, an exterior can be done right in the warm season.
Ready for a fresh coat?
Get a Free Estimate